8 Practical Tips for Setting and Reaching Smart Goals in 2023

Setting smart goals is a great way to stay motivated and make progress towards something that means something to you. …
Setting smart goals is a great way to stay motivated and make progress towards something that means something to you. …

If you could control your emotions, then that would be the ultimate technique. I’m serious. If you were able to …
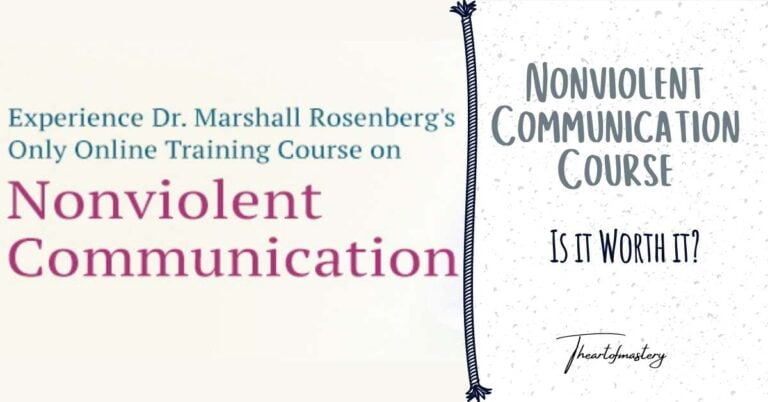
There’s this “Nonviolent Communication Course” that was recommended to me by a friend of mine. We happened to be discussing …

Most of us often think of negative emotions as enemies. That’s why we try so hard to repress them in …

Discovering your intuitive skill is a great way to understand your physiological system and overcome life’s challenges. In this world …
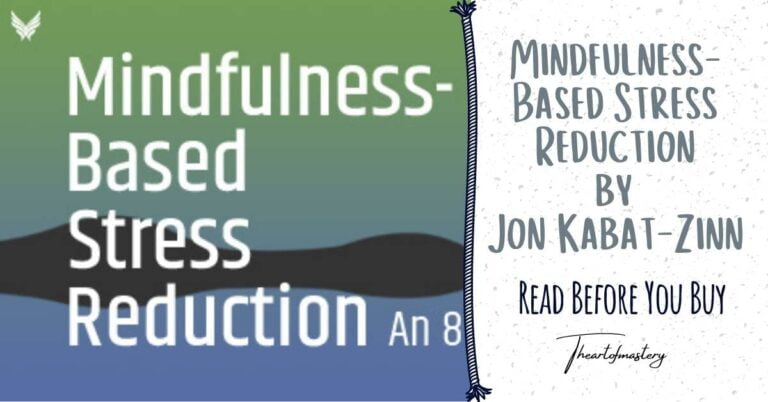
MBSR courses are becoming more common as people recognize the value of mindfulness and the dangers of stress in everyday …
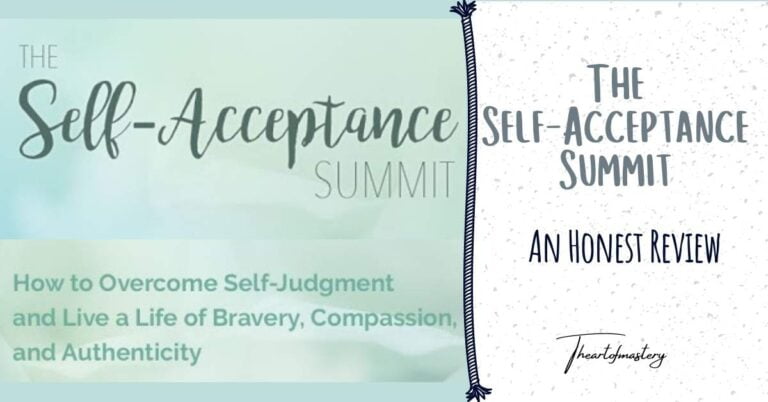
If you want to improve your relationship with yourself and find peace in your life, The Self-Acceptance Summit from Sound …
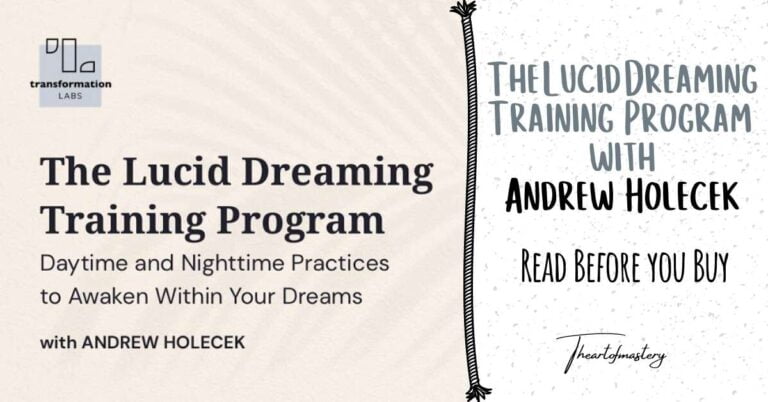
The Lucid Dreaming Training Course with Andrew Holecek is a comprehensive guide that will teach you how to induce lucid …